Five Steps for Designing Lessons that Prioritize the Student Experience
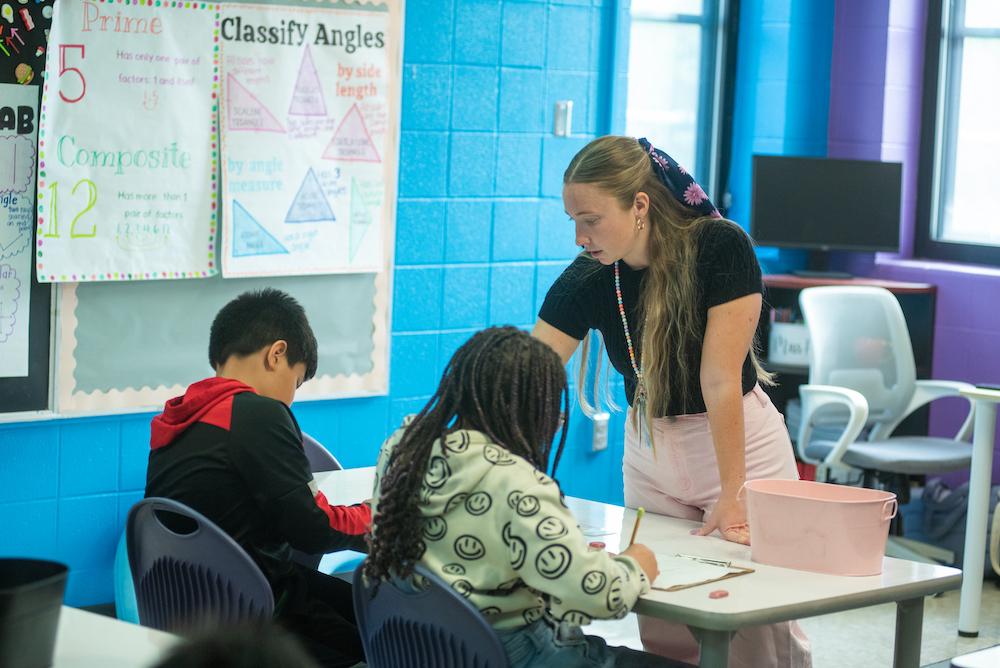
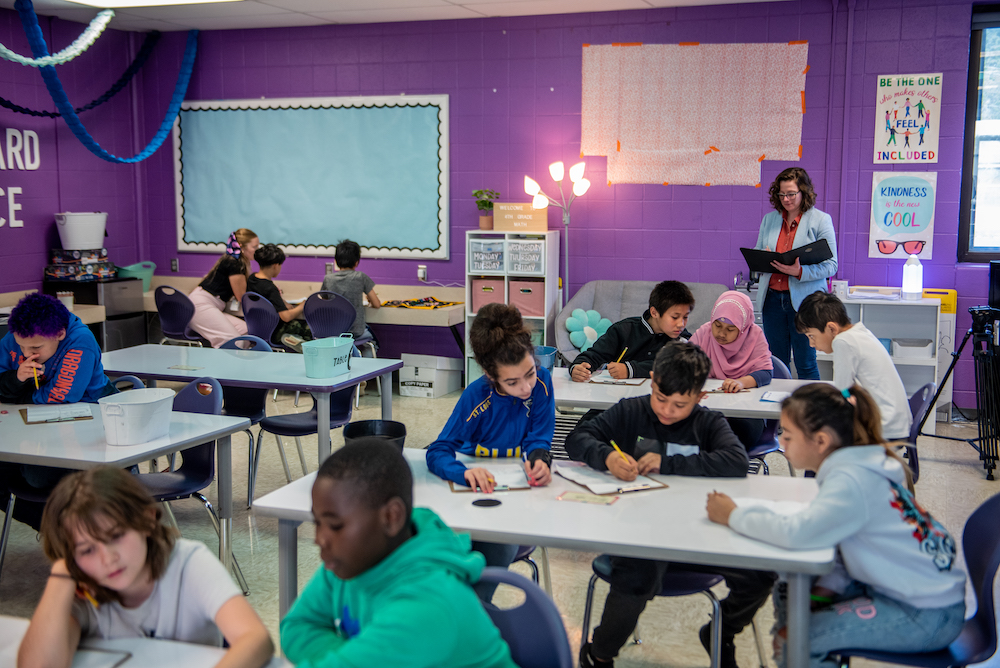
Teachers: Whether you’re engaging in virtual, in-person, or hybrid instruction this year, one thing you know for sure is that you still have to prepare for how your students will participate in lesson activities and retain what they learn. While there are many ways to design lessons, few put the student experience at the center of the learning. In the rest of this article, we’re going to show you exactly how to design lessons that prioritize the student experience.
Regardless of learning scenario, lessons designed for student experiences must (1) promote student agency and independence through discussion and collaboration activities, and (2) allow teachers to provide quick and actionable feedback to students.
Here are five steps you can take to design for student experience—be sure to watch the video at the end of the post to see the steps in action.
Five key steps for designing lessons that prioritize the student experience
Pre-work: Internalize the lesson
Before designing the student experience, you must first internalize the lesson—including identifying the standards addressed, naming key takeaways, doing the work of the lesson, and planning for anticipated misconceptions. As you internalize the lesson, you’ll strategically choose activities that ensure students glean those key takeaways.
Step 1: Name the purpose of each lesson activity
Ask yourself: What are my students supposed to gain from this activity? What are they supposed to walk away from this activity being able to do?
Step 2: Plan for interactions during each activity
After you consider the purpose, consider what type of interactions students need to maintain the integrity of the activity. Do they need student-to-student interaction, or student-to-teacher? Should they work independently, or should there be a group discussion?
Step 3: Identify platforms and features for each activity
Once you know the type of interactions students need to have, determine the tools you will use to facilitate those interactions. For example, if you are planning a synchronous virtual lesson and you want to check your students’ work in real time while they work in pairs, you might use Jamboard; if you want to let students work independently to check their understanding, you could use a Nearpod’s “Draw It” feature to collect students’ individual responses and check them before sharing with the class.
Step 4: Prepare to deliver the lesson
Now that you know the platforms you’re using, you can prepare your lesson’s slides and activity boards.
Step 5: Anticipate your response to “what if” scenarios
One thing that we’ve learned over the last six months is to expect the unexpected. When we’re planning virtual lessons, that means being very thoughtful about the instructional decisions you’ll make if you find yourself in a “what if” scenario. “What if the note catcher isn’t working?” “What if Jamboard goes out?” You can’t anticipate every possible scenario, but, if you plan for some issues before they arise, you’ll be able to maximize instructional time and provide students with a great experience.
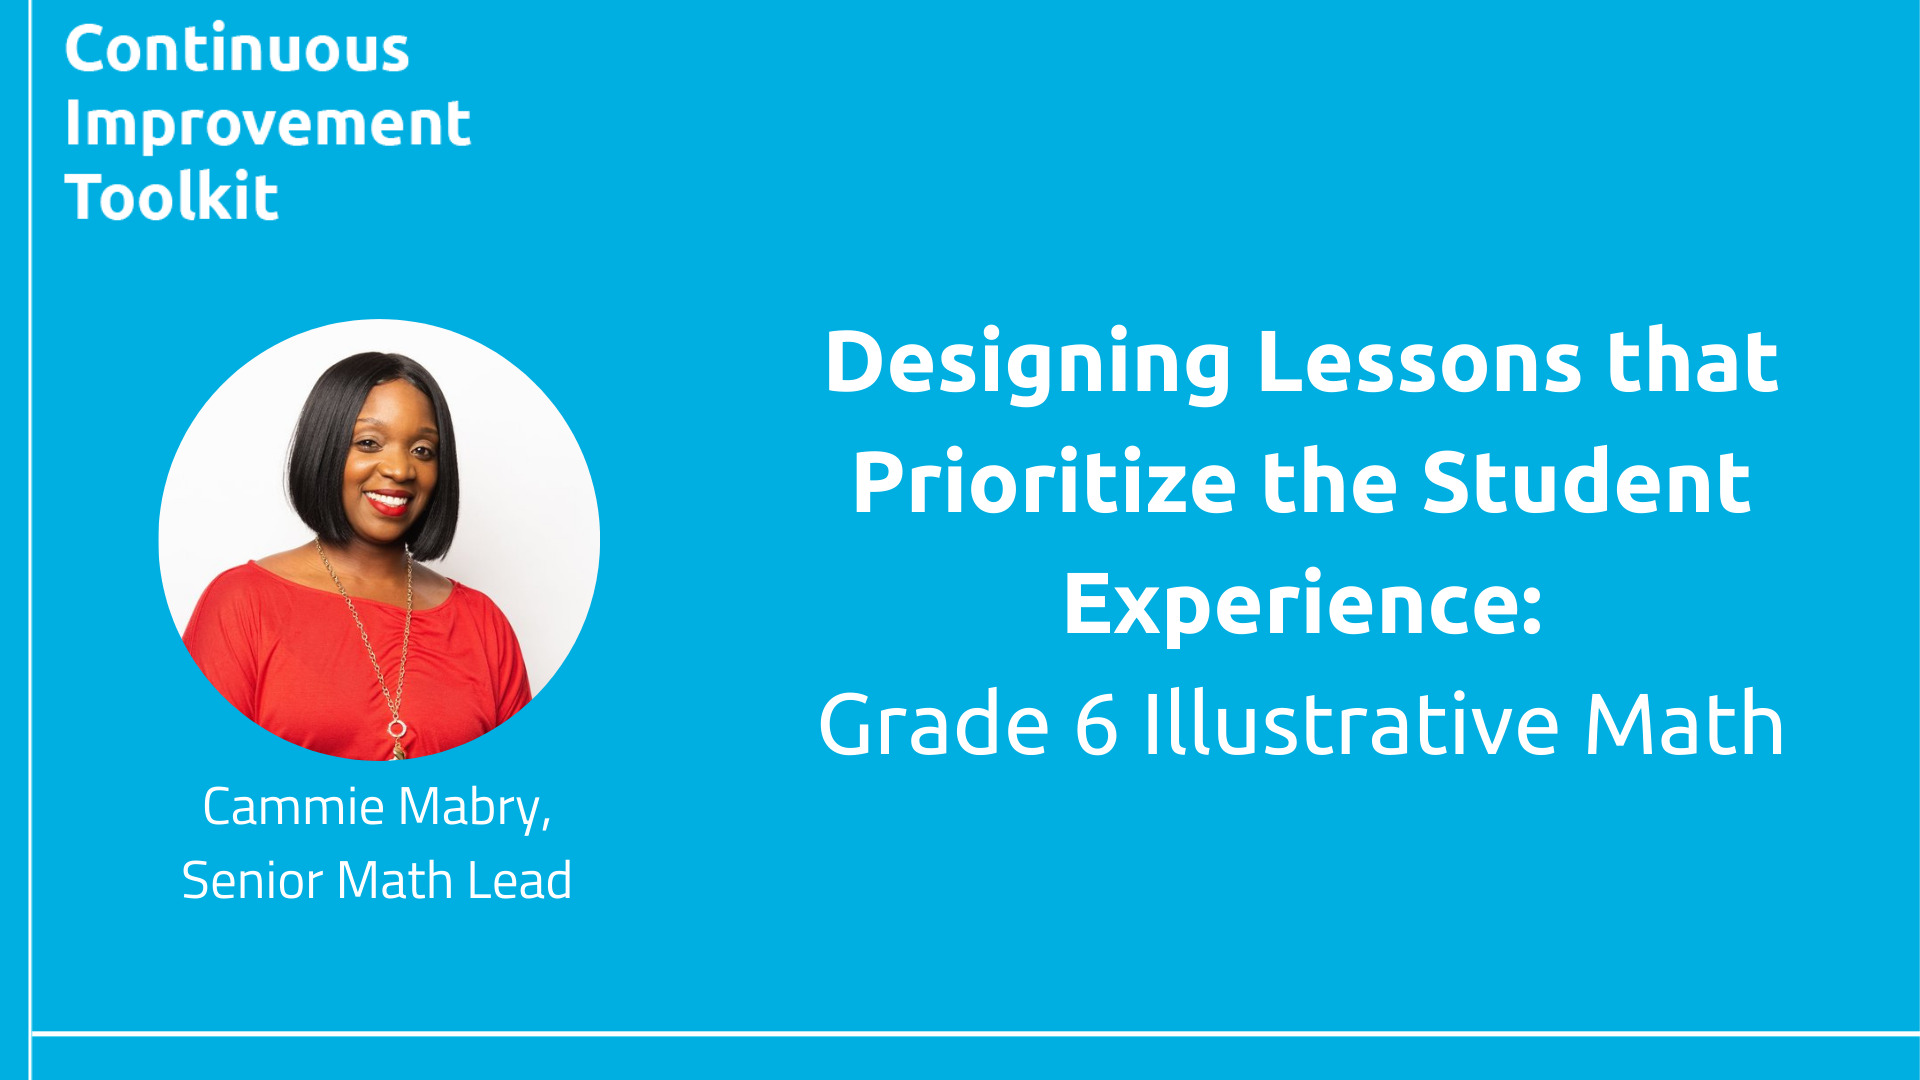
VIDEO: Designing the student experience—grade 6 Illustrative Math lesson
The following video walks you through how I considered each of the five key steps of designing for student experience using a sixth-grade Illustrative Math lesson. You can find the lesson materials shared in the video here.
With the number of uncertainties in the world today, teachers and students have had to make considerable sacrifices; quality instruction should not be one of them. Ultimately, children deserve high-quality instruction and teachers deserve a framework for making it possible.
—
This post is part of a series on continuous improvement. If you’re looking for more resources, download the Continuous Improvement Toolkit, which comprises practical tools, templates, and recommendations for keeping students engaged in meaningful learning, whether they are learning in a classroom or at home.